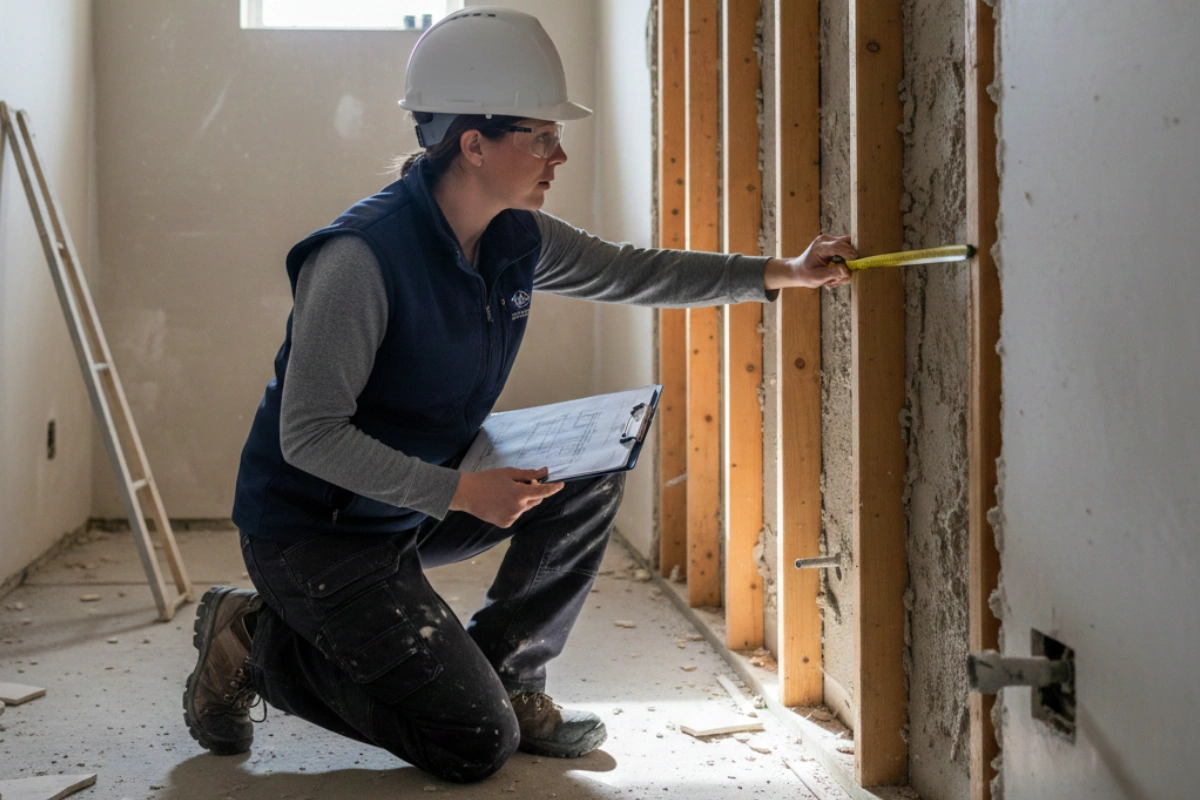
A homeowner just showed you their bathroom and said "We want to gut this whole thing and start fresh. Can you give us a number?"
Now you're standing there, looking at 60 square feet of outdated tile, a leaking shower pan, and a vanity from 1994. You need to come up with a number that's accurate enough to win the job — but not so low that you end up working for free.
This is where most contractors either wing it or spend hours buried in a spreadsheet. Neither is a great option. This guide gives you a simple, repeatable process to estimate construction costs — step by step — so every number you put on paper is one you can stand behind.
What Is a Construction Cost Estimate?
A cost estimate is the total amount you expect the job to cost you — before you add overhead and profit. It's the foundation of your quote price. Not sure whether to send an estimate or a quote? See our estimate vs quote comparison.
Think of it this way:
| Stage | What It Answers | Learn More |
|---|---|---|
| Cost estimate | "How much will this job cost me to build?" | This guide |
| Job pricing | "How much should I charge the client?" | Pricing guide |
| Quote | "How do I present this to the client?" | Quote guide |
If your estimate is wrong, everything after it is wrong too. Your price will be too high (you lose the job) or too low (you lose money). That's why getting the estimate right is the most important step.
The 4 Types of Construction Estimates
Not every estimate needs to be a 10-page spreadsheet. The level of detail depends on how far along the project is.
| Type | Accuracy | When to Use | How It Works |
|---|---|---|---|
| Ballpark | ±30-50% | First phone call, before site visit | "Bathrooms like that usually run $15K-$25K" |
| Square foot | ±15-25% | Early planning, budget discussions | $250-$400 per sqft for a full remodel |
| Assembly | ±10-15% | After site visit, before final design | Group costs by system (plumbing, tile, electrical) |
| Detailed | ±5-10% | Final bid, signed contract | Every item counted, every cost verified |
For most residential contractors, you'll give a ballpark on the phone, then follow up with a detailed estimate after walking the site. The steps below show you how to do the detailed version.
Step 1: Define the Scope
Before you count a single tile, you need to know exactly what you're building. Walk the site, talk to the client, and write down everything the job includes.
For our bathroom remodel example, the scope looks like this:
| Task | Included? | Notes |
|---|---|---|
| Demo existing bathroom | Yes | Tile, vanity, toilet, shower pan |
| New tile (floor + shower walls) | Yes | ~120 sqft total, porcelain |
| New vanity + countertop | Yes | 48" vanity, client picks style |
| New toilet | Yes | Standard install |
| Shower valve + fixtures | Yes | Pressure-balance valve, rain head |
| Waterproofing (Kerdi or similar) | Yes | Shower walls + floor |
| Electrical upgrades | No | Sub will handle — separate bid |
| Painting | No | Client doing themselves |
Notice the "No" items. Writing down what's excluded is just as important as what's included. This prevents scope creep — the silent profit killer.
Step 2: Do a Quantity Takeoff
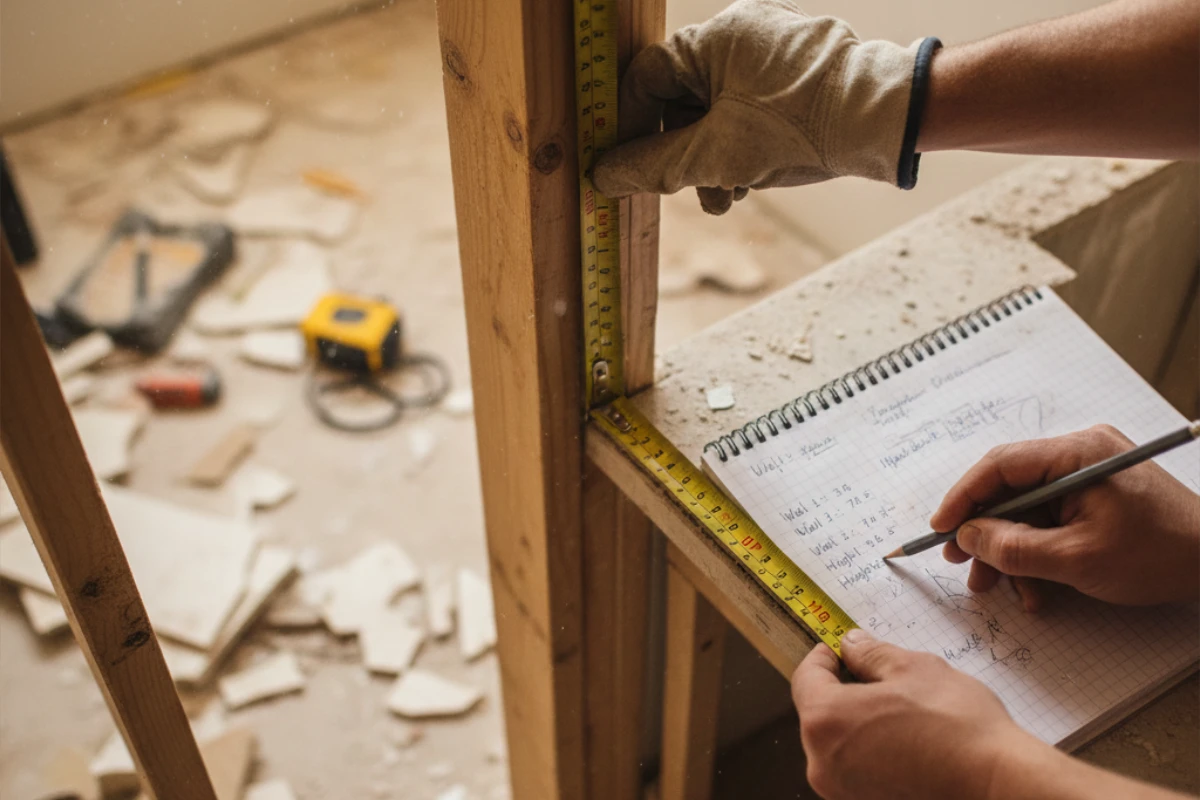
A quantity takeoff is exactly what it sounds like — you "take off" (count) every material you'll need from the plans or the site itself. This is the backbone of your estimate.
For simple residential jobs, you don't need fancy software. A tape measure, a notepad, and basic math are enough.
How to do a takeoff:
- Measure everything — floor area, wall heights, linear feet of trim, number of fixtures
- List every material — don't forget backer board, thinset, grout, screws, sealant, and all the "small stuff" that adds up
- Note the quantities — in the right unit (sqft, linear feet, each, bags)
Here's the takeoff for our bathroom:
| Item | Quantity | Unit |
|---|---|---|
| Porcelain tile (floor) | 60 | sqft |
| Porcelain tile (shower walls) | 60 | sqft |
| Cement backer board (1/2") | 6 | sheets |
| Waterproofing membrane | 80 | sqft |
| Thinset mortar | 4 | bags (50 lb) |
| Grout | 2 | bags (25 lb) |
| Shower pan (custom or prefab) | 1 | each |
| 48" vanity with countertop | 1 | each |
| Toilet | 1 | each |
| Shower valve + trim kit | 1 | set |
| Rain shower head | 1 | each |
| Vanity faucet | 1 | each |
| Mirror | 1 | each |
| Miscellaneous (screws, caulk, sealant, shims) | 1 | lot |
Common mistake: Forgetting the "invisible" materials — waterproofing, backer board, adhesives, transition strips. These items don't show up in the finished product, but they show up in your costs. A missed bag of thinset won't break the bank. Missing the waterproofing membrane will.
Step 3: Price Your Materials
Now attach a cost to every item on your takeoff. Don't guess — check current supplier prices. Call your local supply house or check online. Prices change constantly.
| Item | Qty | Unit Cost | Total |
|---|---|---|---|
| Porcelain tile (floor + shower) | 120 sqft | $4.50 | $540 |
| Cement backer board | 6 sheets | $14.00 | $84 |
| Waterproofing membrane | 80 sqft | $2.80 | $224 |
| Thinset mortar | 4 bags | $18.00 | $72 |
| Grout | 2 bags | $22.00 | $44 |
| Shower pan (prefab, 36x48) | 1 | $380 | $380 |
| 48" vanity with quartz top | 1 | $850 | $850 |
| Toilet (elongated, comfort height) | 1 | $280 | $280 |
| Shower valve + trim + rain head | 1 set | $320 | $320 |
| Vanity faucet | 1 | $120 | $120 |
| Mirror (36x30 framed) | 1 | $95 | $95 |
| Miscellaneous (screws, caulk, sealant, etc.) | 1 lot | $85 | $85 |
| Material subtotal | $3,094 | ||
| + 10% waste factor | $309 | ||
| Total materials | $3,403 | ||
Why the waste factor? Tile breaks during cuts. You'll buy a few extra screws. The grout bag gets wet. A 10% buffer is standard for bathroom work. For framing or rough carpentry, 5-8% is usually enough.
Step 4: Estimate Your Labor
This is where experience counts the most. You need to figure out how many hours each task will take — and what those hours actually cost you.
Production rates for common bathroom tasks:
| Task | Production Rate | Our Job | Hours |
|---|---|---|---|
| Demo (gut bathroom) | 4-6 hrs for standard bath | 1 bathroom | 6 |
| Backer board install | ~3 sqft/hr | 48 sqft | 16 |
| Waterproofing | ~20 sqft/hr | 80 sqft | 4 |
| Tile installation | ~8-12 sqft/hr | 120 sqft | 14 |
| Grouting | ~25 sqft/hr | 120 sqft | 5 |
| Plumbing rough-in | 6-10 hrs | Shower + vanity + toilet | 8 |
| Fixtures install | 1-2 hrs each | Toilet + vanity + faucet + shower | 5 |
| Cleanup + haul-away | 2-4 hrs | 1 bathroom | 3 |
| Total labor hours | 61 hrs | ||
Now multiply by your true labor cost per hour. Remember — your true cost isn't just the hourly wage. You need to add payroll taxes, workers' comp, and benefits. This is called the labor burden.
(If you're not sure how to calculate your true labor cost, we break it down in our pricing guide.)
| Component | Calculation | Amount |
|---|---|---|
| Total labor hours | 61 hours | — |
| True hourly cost (with burden) | $52/hr | — |
| Total labor cost | $3,172 | |
Tip: If you're a solo contractor doing everything yourself, your labor cost is your own hourly rate — but don't forget self-employment tax, insurance, and the hours you spend on the job but don't bill (travel, setup, supply runs). A $50/hr rate you charge clients can quickly become $35/hr after those hidden costs.
Step 5: Add Subcontractor and Equipment Costs
Most bathroom remodels need at least one sub — usually a plumber or electrician. Get their bid in writing before you finalize your estimate.
| Item | Provider | Cost |
|---|---|---|
| Electrician (new GFCI outlets + exhaust fan) | Licensed sub | $650 |
| Dumpster rental (10-yard, 5 days) | Waste hauler | $375 |
| Tile saw rental (if needed) | Tool rental | $85 |
| Total subs + equipment | $1,110 | |
Don't absorb sub costs. Some contractors eat the sub's markup to look cheaper. Bad idea. You're taking on liability for work someone else is doing. Pass the cost through — and add your own coordination markup (10-15%) if you're managing the sub.
Step 6: Include Permit and Indirect Costs
These are the costs that don't fit neatly into materials or labor — but they're real, and forgetting them is one of the most common estimating mistakes.
| Cost | Typical Range | Our Job |
|---|---|---|
| Building permit | $100-$500 | $200 |
| Dump fees (beyond dumpster rental) | $0-$150 | $0 |
| Delivery charges (materials) | $50-$150 | $75 |
| Site protection (floors, dust barrier) | $25-$100 | $40 |
| Total indirect costs | $315 | |
Step 7: Add Contingency
Contingency is money you set aside for the unknown — the rotted subfloor you find under the tile, the mold behind the shower wall, the plumbing that doesn't meet code. You don't spend it unless you need it, but you always budget for it.
| Job Type | Recommended Contingency | Why |
|---|---|---|
| New construction | 5% | Fewer surprises, fresh materials |
| Standard remodel | 10% | Hidden conditions behind walls/floors |
| Older home (pre-1980) | 15-20% | Asbestos, lead paint, non-code framing |
| Storm/water damage repair | 15-25% | Full extent of damage unknown until demo |
For our bathroom remodel in a 2005 home, we'll use 10% contingency.
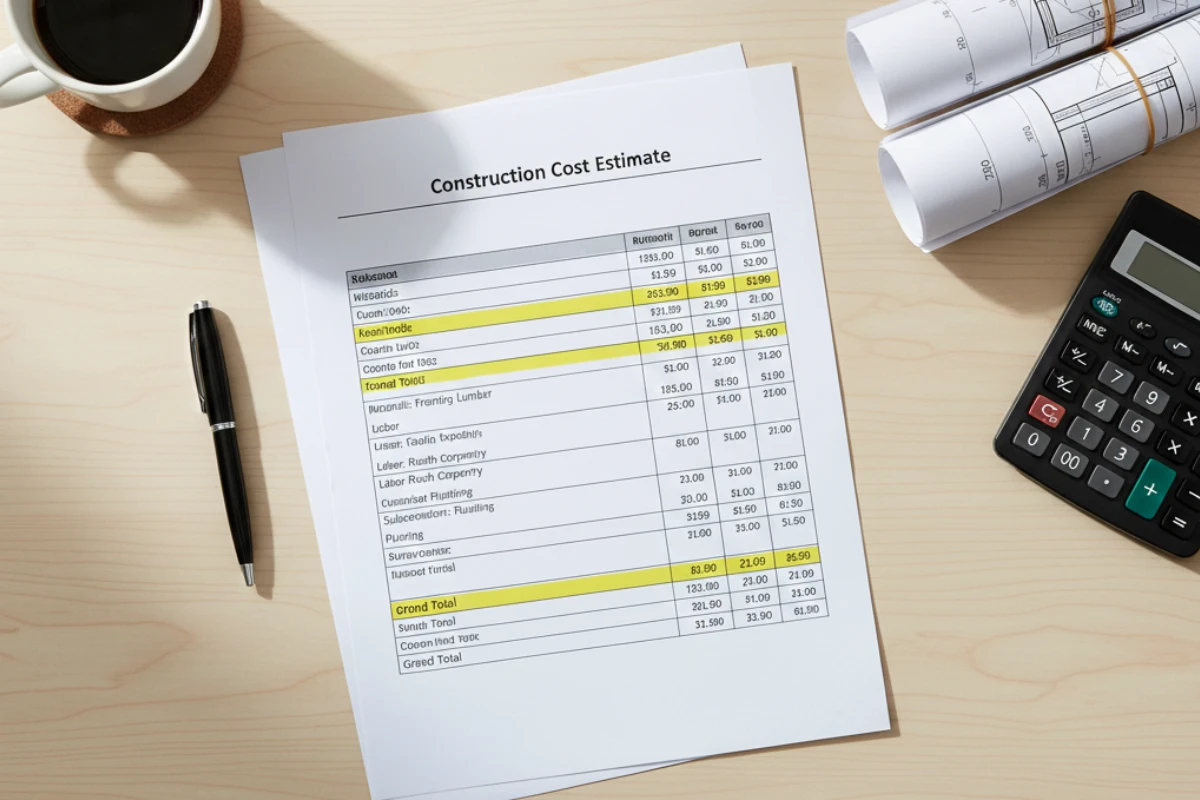
The Complete Estimate: Bathroom Remodel Summary
Let's put it all together:
| Category | Amount |
|---|---|
| Materials (with 10% waste) | $3,403 |
| Labor (61 hrs x $52/hr) | $3,172 |
| Subcontractors + equipment | $1,110 |
| Permits + indirect costs | $315 |
| Base cost | $8,000 |
| + 10% contingency | $800 |
| Total estimated cost | $8,800 |
This is your cost to build — not your quote price. To turn this into a price you present to the client, you still need to add your overhead and profit margin. We cover that entire process in our pricing guide. And if you're preparing this estimate as part of a bid, check out our complete guide to bidding on construction jobs.
With a typical 15% overhead and 20% profit margin, this $8,800 estimate becomes a quote price around $13,500. Every dollar is accounted for.
Estimating Mistakes That Cost You Money
| Mistake | What It Costs You | How to Fix It |
|---|---|---|
| Eyeballing quantities | 10-20% material overruns | Measure everything. Twice. |
| Forgetting the "small stuff" | $200-$500 per job in missed items | Use a takeoff checklist for every trade |
| Using old prices | Material costs can swing 10-20% in weeks | Get fresh quotes within 2 weeks of bidding |
| Underestimating labor hours | You work for free — or worse, lose money | Track actual hours on current jobs to build your own data |
| Skipping contingency | One surprise wipes out your profit | Always add 5-15% depending on job type |
| Not getting sub bids in writing | Their price goes up, yours stays the same | Get written quotes with a validity period |
How to Estimate Jobs Faster
Here's the hard truth: a proper detailed estimate can take 1-2 hours. If you're bidding 3-5 jobs a week, that's a full day of unpaid work just on estimating.
And speed matters. Research shows that the contractor who sends the quote first wins the job up to 78% of the time. Not because they're cheaper — because they're faster. (We dig into this in our quote guide.)
That's why more contractors are using AI to do the heavy lifting. Tools like PlanUpPro let you describe any job — by voice or text — and the AI generates a complete, itemized estimate with material and labor costs based on your trade and area. The whole process takes about 30 seconds.
You still review everything and adjust where needed. But instead of starting from zero, you start with a detailed estimate that's already 90% done. That means you can send your quote the same day you walk the site — while the other contractors are still "getting back to them next week."
The Bottom Line
Estimating construction costs is not about guessing. It's a system:
- Define the scope — know exactly what's in and what's out
- Quantity takeoff — measure and count every material
- Price materials — use current supplier prices plus waste factor
- Estimate labor — calculate real hours at your true hourly cost
- Add subs and equipment — get written bids
- Include indirect costs — permits, delivery, site protection
- Add contingency — 5-15% depending on the job
Do this consistently, and you'll stop losing money on bad estimates. Your quotes will be accurate, your clients will trust your numbers, and you'll actually keep the profit you deserve.